Wednesday, 16 July 2014

lesson plan 1 (Online Mapping)


Subjects
·         Social Studies
Grade
·         K-2
Brief Description
In this online activity, students use Google Maps to pinpoint their home address and get directions to and from school.

Objectives
Students (on own or in whole group work) will:
·         Enter their home addresses in Google Maps.
·         Write the directions from their house to school.
Keywords
Community, geography, home, school

Materials Needed
·         student access to the Internet
·         a projector/TV monitor to display the teacher's computer
Lesson Plan
By first and second grade, most students should know their home address. Meanwhile, in language arts, teachers are focusing on descriptive writing, including the use of details. This lesson both motivates students to know their home address for safety purposes and improves their writing skills as they describe how to get to school from their house.
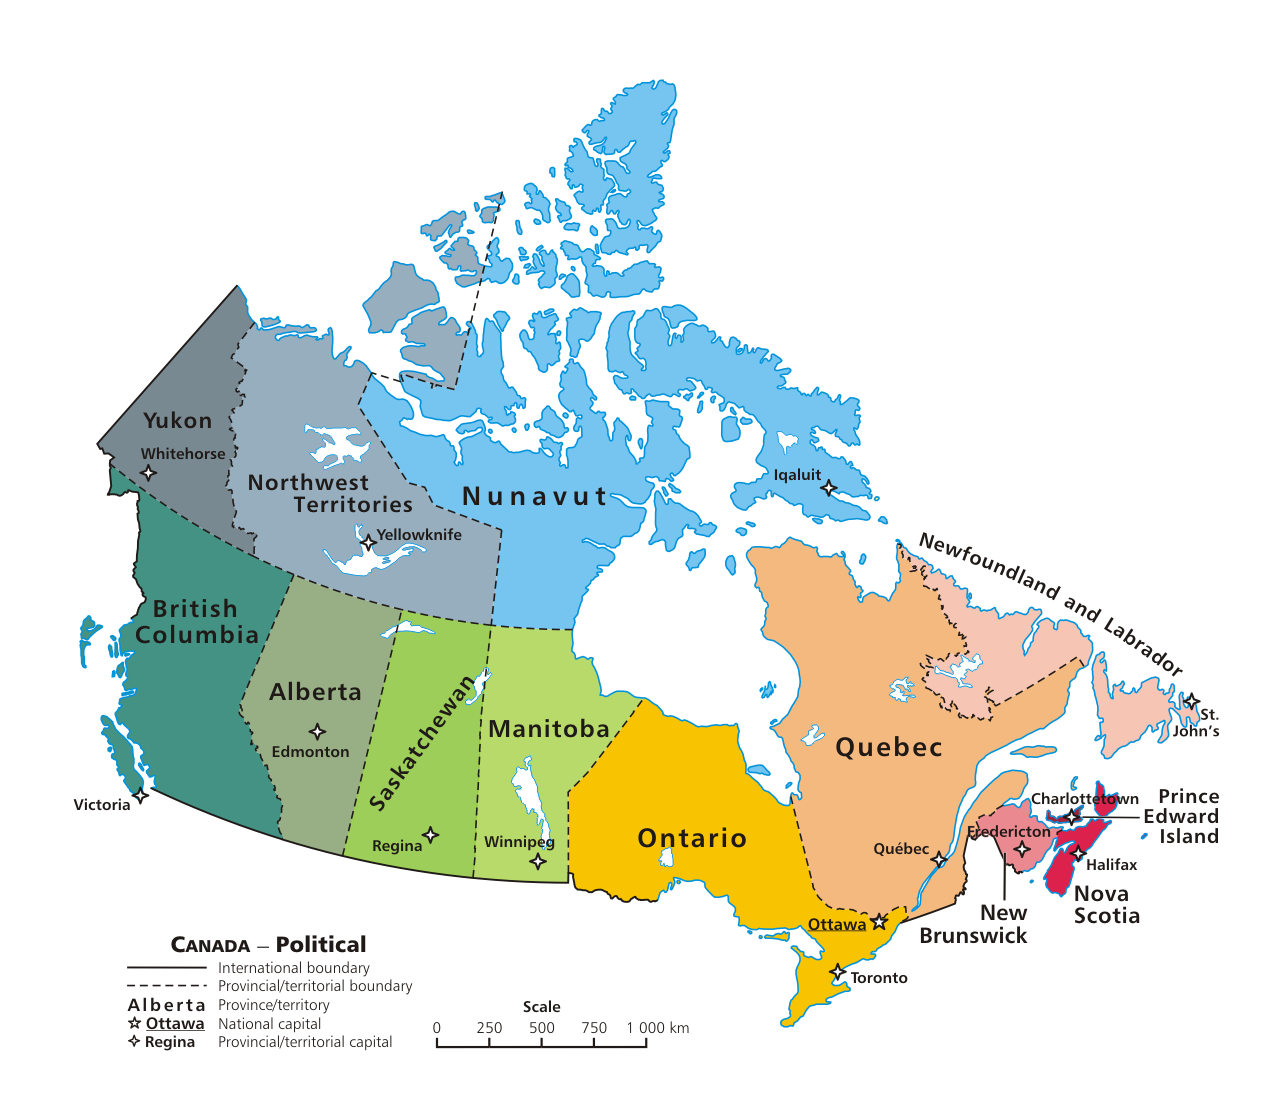
Google Maps provides a fast and easy way to display locations in Canada. In many areas, we even can see a satellite photo that zooms in to our own rooftop!
This lesson is best taught when each student has access to a computer at the same time -- in a lab, but, we can adapt it for a classroom with one or more computers in a computer center. One computer will be displayed on a projector.
Students will be explained that they are going to go on the computer and see a map of where they live. They might even get to see their own house! Open Google Maps, type your school's address into the search blank, and then click Search.  Students see the map that appears, then click Satellite (remember to check beforehand that pictures of your area are available) to see an aerial shot of your campus. Click the plus sign on the left several times to see a close-up of the school. Ask students to identify the buildings on your campus.
Next, click the Get Directions button at the top of the screen. Your school address is now in a blank called Ending Directions. The place will be decided beforehand where we would like the directions to start from. It would be a place well known to the students -- the zoo, the mall, the park, and so on. Type that address in the starting address and click Search. You'll see (on the Satellite view) a line connecting the two locations. Click Map to see the roads, with written directions on the left. Here's where the descriptive writing comes in!
Students will be asked how they would write the directions in this paragraph: To get to our school from _____________________________________________, you
_______________________________________________________________.

Their suggestions will be written on a whiteboard or on the computer until the paragraph provides complete directions to school from the chosen location.
Finally it's time for students to get online! They will be provide  with the following directions:
·         Write your address on a piece of paper. (Have available a list of addresses for those students who don't know their addresses yet.)
·         Open Google Maps on your computer. ( shortcut can be put on each computer desktop before beginning the lesson)
·         Type your home address in the search blank and click Search.
·         Click Satellite and the plus sign to see your roof. (optional)
·         Click Get Directions and type the school's address in the starting directions blank.
·         Click Search.
·         Look at the map (or Satellite view) and see if that's how you get to school. (Some students might ride the bus to school or a parent might drop off a younger sibling at day care before driving the student to school, so the direct route might not be familiar to all of them.)
·         With pen and paper (word processing software for grades 3), write a paragraph explaining the directions from school to your house.
Review students' work as they work on the assignment. Some might need help. Collect the paragraphs to ensure that each student has completed the assignment, and then send home the paragraphs with a note about the activity. Some parents might want to discuss the directions with their children or drive the route with them.

(Note: This lesson was inspired by an activity completed in Stacey Hansom's second grade classroom at Lausanne Collegiate School in Memphis, Tennessee.

- See more at: http://www.educationworld.com/a_tech/techlp/techlp058.shtml#sthash.tVLnDMyo.dpuf  and submitted on line by Lorrie Jackson)
lesson Plan 2 (Math-Data Analysis)

Subject
·         Math

Grade
·         G-3/5

Description
·         Data Analysis:
Students will collect and explore data through counting, measuring, and conducting surveys. Organize data using pictures, tallies, tables, and graphs. Present data using a variety of appropriate representations and explain the meaning of the data.
Objectives
·         The students will learn to gather data on a topic, graph it in various forms, interpret the information, and write a summary of the data.

Keywords
·         Graphs,  tally, table, data

Material needed
·         Power point presentation (Microsoft)
·         Microsoft Excel
·         Printers

Lesson Plan
The children learn how to brainstorm topics to be surveyed, formulate questions, collect data, and create bar, line, pie, and picture graphs. Then the students summarize the results by creating graphs and tables with the use of the computer program. Students determine which graph formats best depict their outcomes.
The students, independently or in small groups, perform the following activities with minimum assistance after the teacher has modeled them:
  1. List ten items for the brainstorms;
  2. Identify the targeted groups to be surveyed;
  3. Formulate questions to be asked;
  4. Convert the gathered information into data charts;
  5. Create bar, line, picture, and pie graphs.
  • Once the assignment has been completed, the child (or group) show their work to the teacher for consultation. At this time the child (or group) shows the teacher the ten items on the brainstormed list, choice of group targeted to be surveyed, formulated question, data chart, and graphs.
  • The teacher assesses whether the student has an understanding of the topic. The teacher may help the child reflect on the lesson as well as explain the core ideas.
  • If the results fulfill the student’s potential, the teacher and student evaluate the data, graphs, and summary. They discuss the best ways to present or interpret information on an appropriate graph.
Closure:
·         The students demonstrate their understanding by completing their graphs and interpretations with the use of the computer. Then they present their information to the class in power point presentations.

(Ref: Nina Hardiewich, East Detroit Public Schools)


Lesson Plan 3 (Role of Labour Union)

Unit/Activity Title: Role of Labour Union
Course Code
Co-op
Name: Ruhi Zafar
Grade level:11
Minds On:
10 min

Learning goals

·     Demonstrate understanding of organized labour as well as of the evolutionary nature of the labour movement.
·     Identify benefits of labour unions
·     Demonstrate understanding of strike, lockout, or collective action

Overall Expectation:

2.3 The Classroom Component
·     2.3.1.4  Unions and Collective Bargaining
·     Rights & Responsibilities

Specific expectation:

·         R7 – Role of Labour Union
Materials &
Teacher Notes

Board
Computer/projector
Power point/ presentation
Handouts
videos
padlet
Socrative
Google images
Internet research
Assignments


Action:
40 min
Consolidate:
25 min
Total: 75 min


Prior Learning:
Highlight in Canadian Labour History,
Students were expected to navigate world wild web in order to find information on events in labour history as well as complete a timeline


Assessment
Opportunities

Minds On…

Introduction:
·         Teacher will show one photograph of a girl (with coal in wheel barrow) on the overhead.
·         Allow students to observe the photograph.
·         Ask some of the students to share their observations.
-          Pay attention towards the working environment around the photo.
-          What were the working conditions in factories and coal mines prevailing during that period for child labour?

  Visual


Assessment for learning


Action!
1.
  • Small groups of 2 will be formed. Each group find pictures from Google images of labour condition in 1830’s.
  • Students will work with a partner to develop a list of descriptive points about the type of work and the social conditions that allowed that work to take place.
  • Groups will share their pictures and list with the whole class on Padlet. (20min)

2.
·     Teacher will lead lesson using PowerPoint on Unions and Collective Bargaining. (20 min)

For Kinesthetic


For Visual learning


Assessment for learning


Assessment for learning


Consolidate Debrief

Ø  Students will attempt the following quiz on Socrative:   (20 min)

·         Match the definitions with terms
·         Multiple choice questions on Unions

Ø  Lesson will be concluded by assigning extension/homework – watch video


Ø  Further exploration of unions and collective bargaining will occur during the integration portion of the classroom component of the course. This will include local labour representatives as speakers.


For reading & writing/ interpersonal learning


For
Visual learning

Assessment of learning


Assessment as learning


Monday, 14 July 2014

Informative websites


  1.       Canadian Education Association                                                  
  2.       Canada's economic action plan
  3.       Environment Canada                                                             
  4.       Geography of Canada
  5.       Canadian history
  6.       Education resources    
  7.       Photoshop Road Map
  8.       Ontario College of Teachers
  9.       Activities for ESL/EFL students
  10.       ESL lesson plans
  11.       ESL better teaching    
  12.       Free documentaries
  13.       Kids national geographics


Art Craft for junior grades

Art craft teaches a lot to the students. They learn to colour, cut, paste etc. Moreover kids love to do hand on work. These days crafts are the best pastime and educational tool for kids. It can not only keep the kids entertained but also increases a child’s motor skills. Crafts make kids think creatively and when they make something and the outcome is good, the pleasure is obvious from their faces.
On this blog I have put some craft work which can be done with junior grades. I have also given some videos to help how to make some of these crafts.
(images from Google)
(videos from YouTube)

Websites useful  for references:
http://www.dltk-teach.com
http://www.allfreecrafts.net/


Pinwheel

      Material        
      
      Paper or card stock
      Scissors
      Glue stick
      Pencil with eraser
      Push pin
      Bead (optional)
      Crayons or markers (optional)


Chinese Lantern

    Material

   A4 coloured card
   A4 coloured paper (in a different colour to the card)
   Tissue paper
   Glue stick
   Thread to hang
    Stapler


Caterpillar                                               
caterpillar crafts                       

 Materials
  • two colors of construction paper
  • scissors
  • tape or glue,
  • markers
  • googly eyes
  • pipe cleaner
Instructions:
  • Cut two strips of construction paper about 1 or 2 inches wide and 11 inches long (it doesn't have to be exact). 
  • Optional (this is what I like to do):  cut two more identical strips and glue or tape to the first strips to make 2 really long strips (1 inch by 22 inches)...  This makes a longer, bouncier caterpillar. 
  • tape the pieces of paper together in an L shape (be careful not to cover the whole thing with tape so you can draw a face on ...  It's best to use a rolled up piece of tape to stick the pieces together). 
  • Continue until you've folded the entire thing and tape the end
  •  Use markers to draw a face on the front of your caterpillar 
  • Optional:  cut a couple of tiny pieces of paper about 3 inches long and roll them up then unroll them (so they're curly).  Glue them onto the head as antennas or use pipe cleaner (one cut into half)
Accordingly fold the paper (see the diagrams below)


Tissue paper butterfly


Material:

  clothes pins , craft paint , tissue or crepe paper , scissors , pipe cleaners , pompom , glue , googly eyes (optional: string , wire coat hanger)

Instructions:

Paint a clothes pin with quick drying craft paint. Take a 6-inch square of tissue or crepe paper, gather in the center, and tie with half of a pipe cleaner. Place in the front clip end of the clothes pin. Pull the ends of pipe cleaners up and roll to make antennae. Glue a pompom and googly eyes to the front of the clip. Optional: Create a mobile with string and a wire hanger and let these lovely creatures take flight.
Tissue paper flower


Paper Planes

Thursday, 3 July 2014

Classroom Decorations

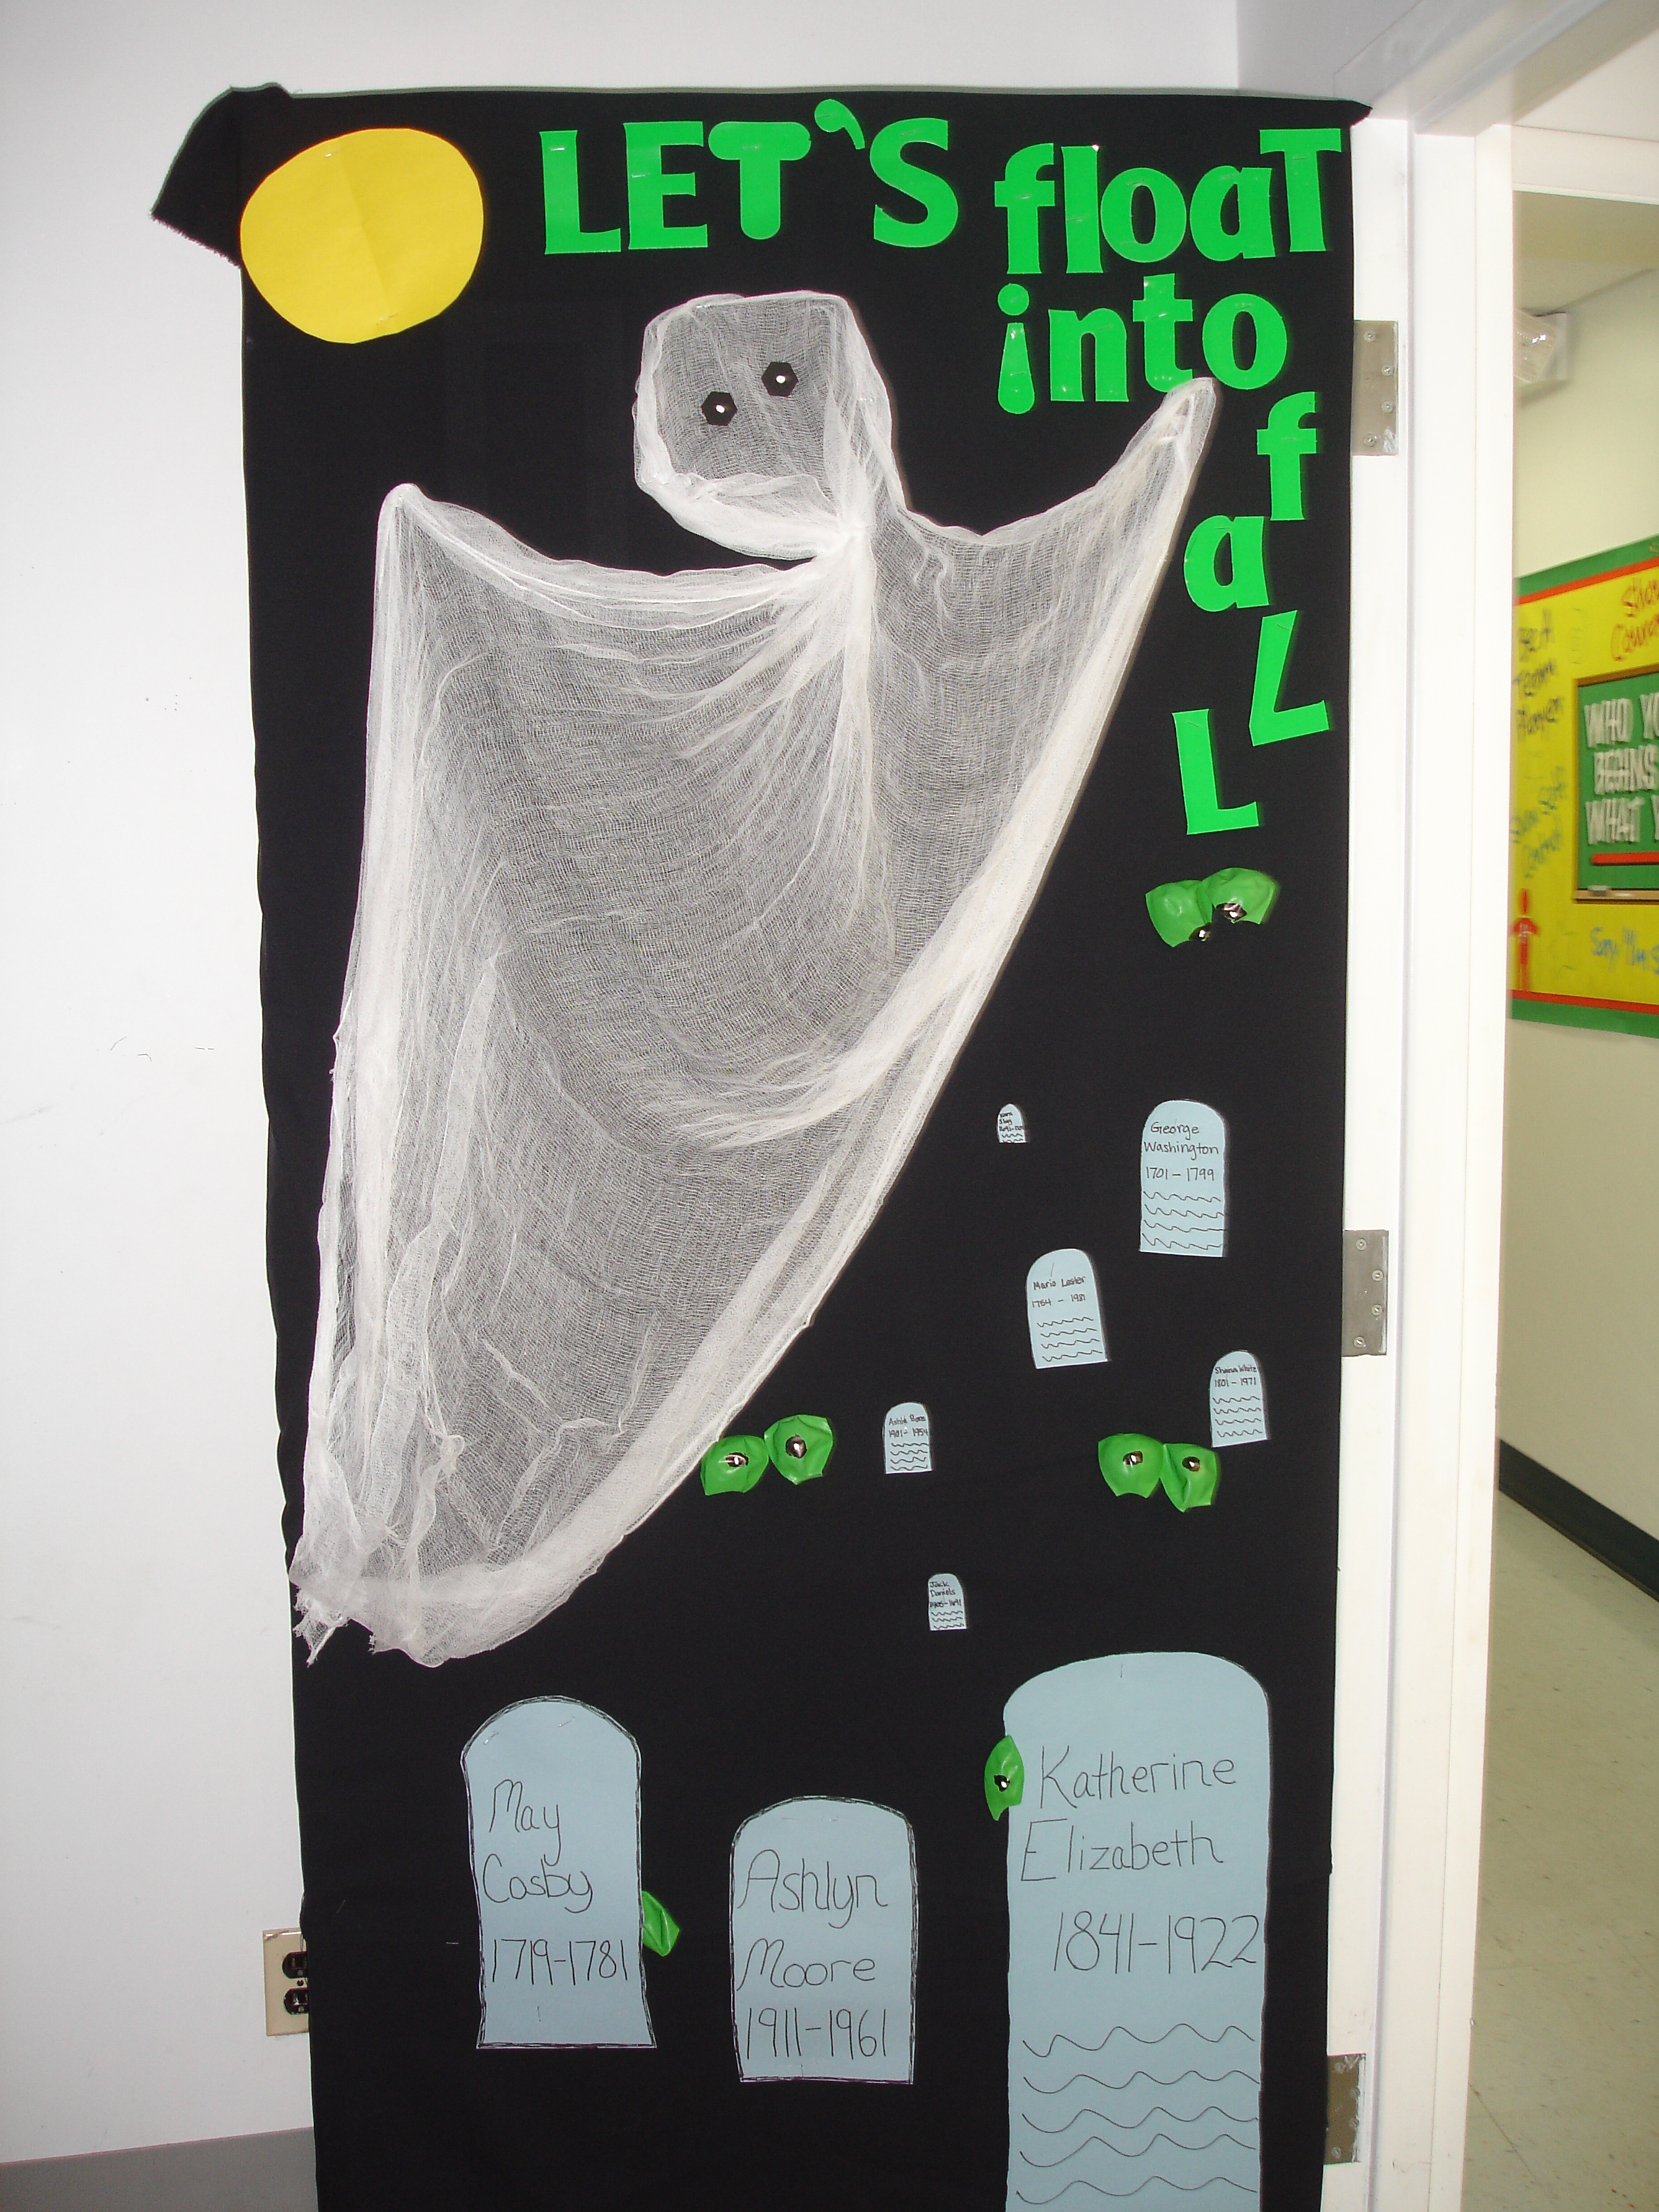
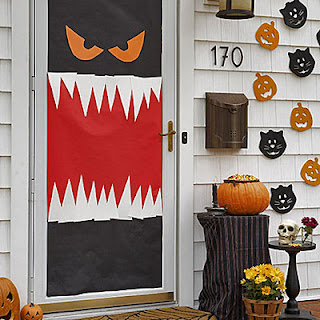
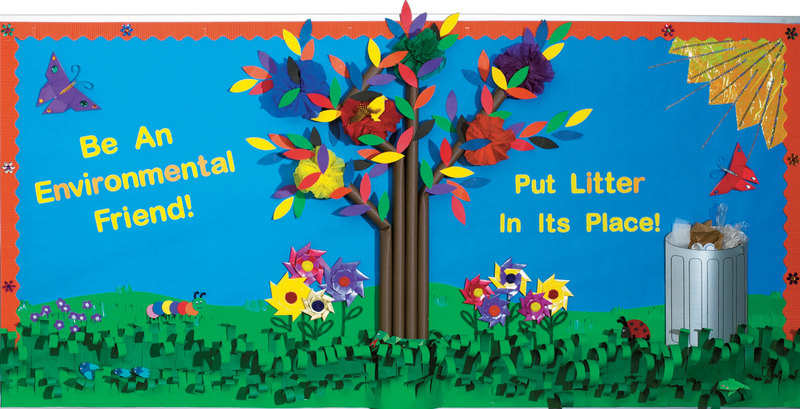
Decorating the class is one of the duties which teachers have to do with the rest of the responsibilities. For this sometimes they search on internet, visit libraries or try to be creative and come up with their own ideas. Moreover being a teacher myself, I have noticed that my kids wait anxiously for me to decorate the door or windows and they love helping in decorating. But to decorate you have to have ideas and on this  blog I have tried to put different ideas in one place.
(Images from Goolge)
(Videos from Youtube)

A website I find useful for references:
http://www.pinterest.com/

Doors


Windows


Bulletin Boards


'